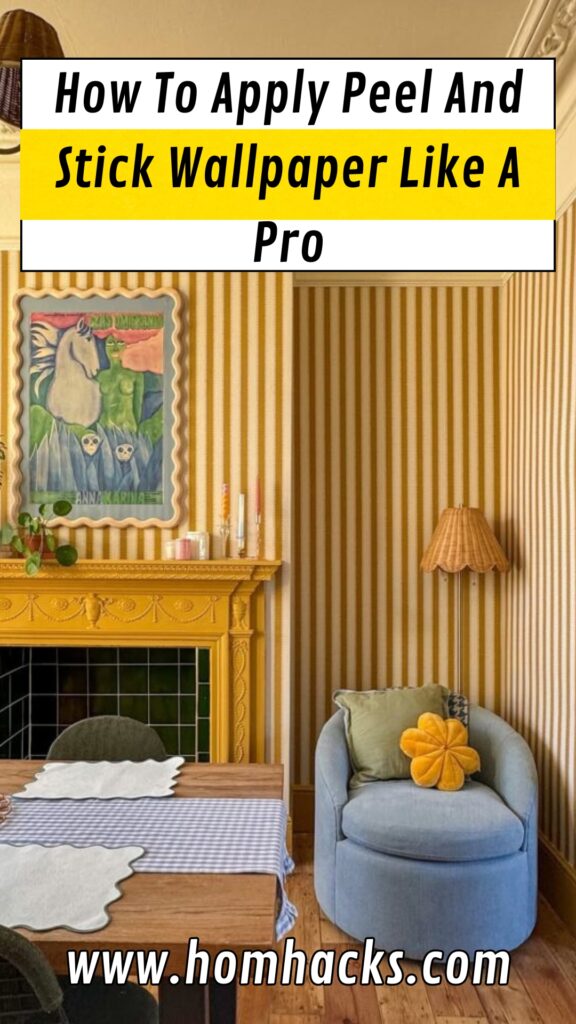
How To Apply Peel And Stick Wallpaper Like A Pro
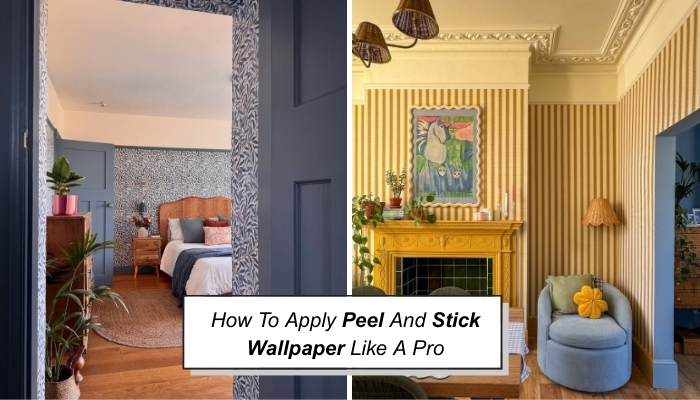
Ever stared at a plain wall and thought, “This room needs something special”? You’re not alone. If you’re looking for an easy home improvement idea that doesn’t need paint or professional help, peel and stick wallpaper is the perfect solution. It’s affordable, renter-friendly, and ideal for anyone who wants a quick and clean room makeover.
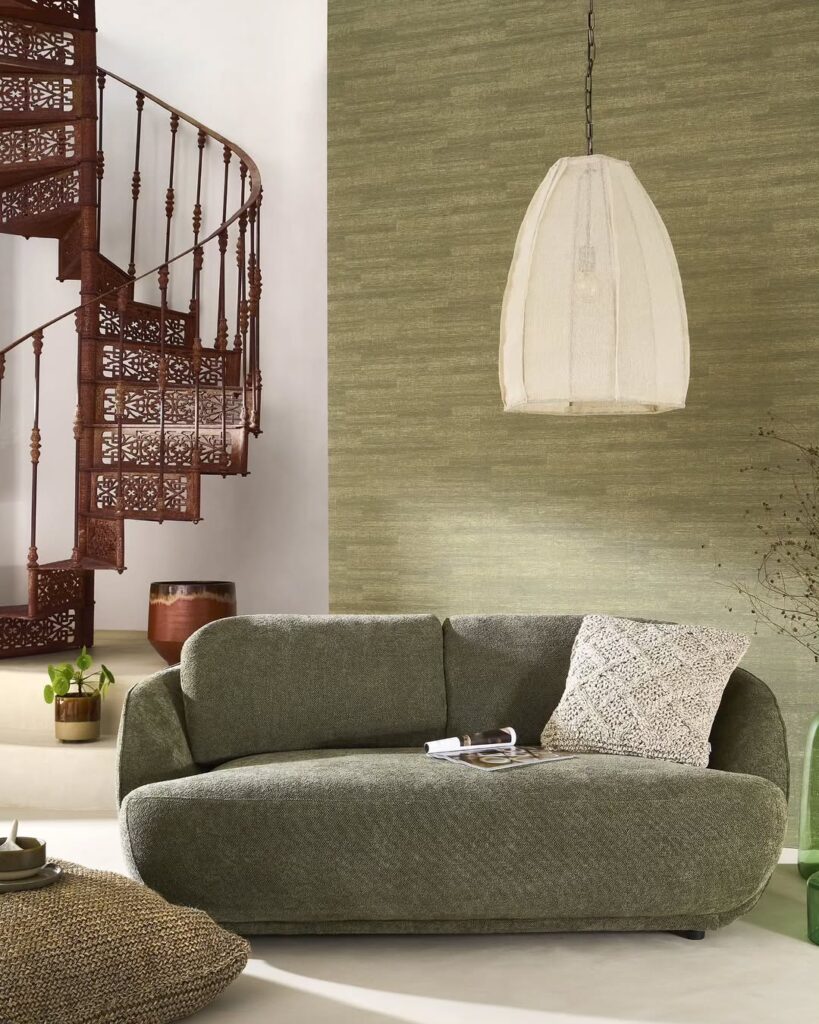
A few months ago, I was tired of my boring living room wall. Painting seemed expensive and time-consuming. That’s when I discovered removable wallpaper for walls. No messy glue, no tools—just peel, stick, and smooth it out. In just a couple of hours, my space went from dull to designer-style. It was the easiest DIY home decor project I’ve ever done, and the results were amazing.
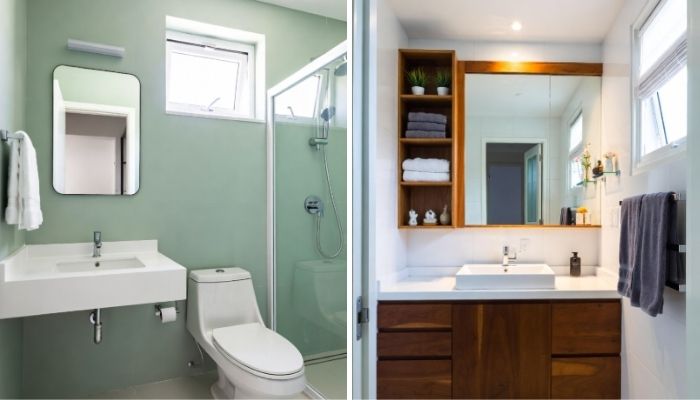
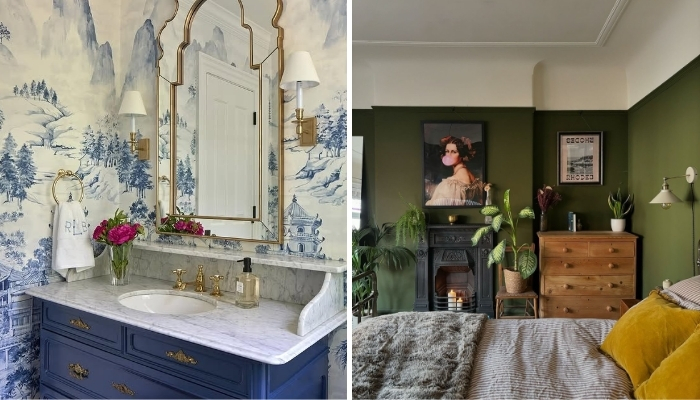
Whether you’re decorating a bedroom, living room, or even a home office, peel and stick wallpaper offers a stylish and modern way to upgrade your space without breaking the bank.
Why Is Peel and Stick Wallpaper So Popular?
One big reason is that it’s renter-friendly wallpaper. You can apply it and remove it without damaging your walls—no tools, no holes, no stress. This makes it perfect for apartment wall decor and other temporary decorating ideas.
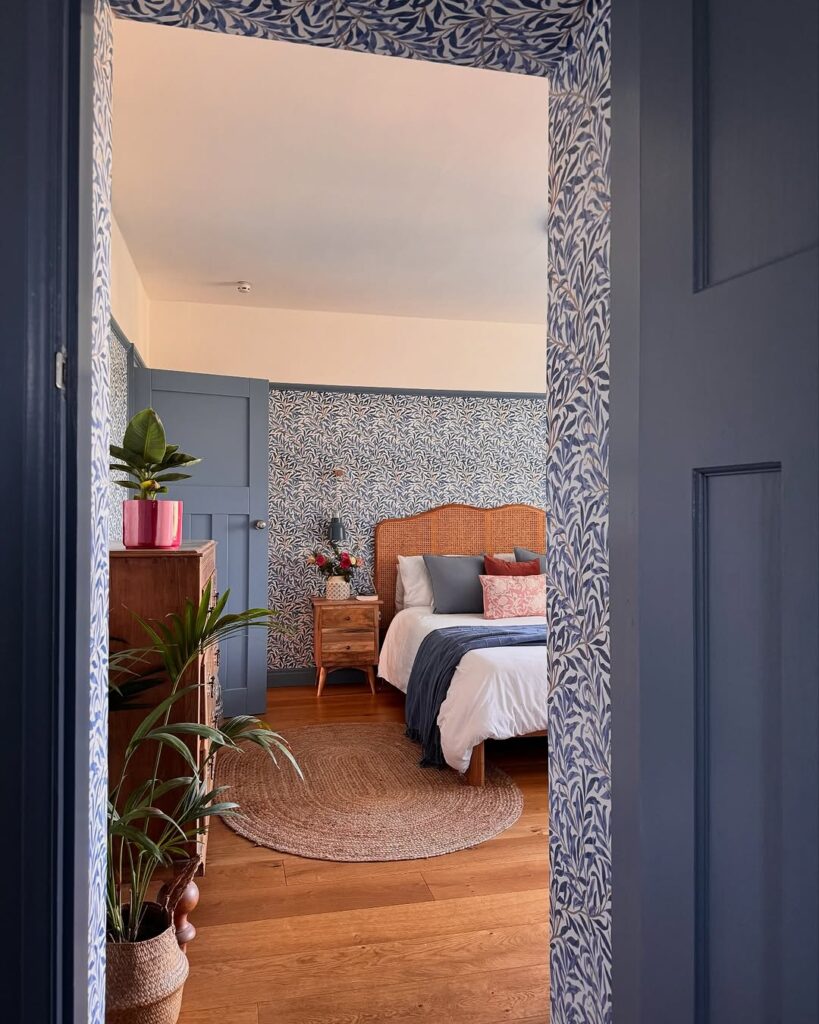
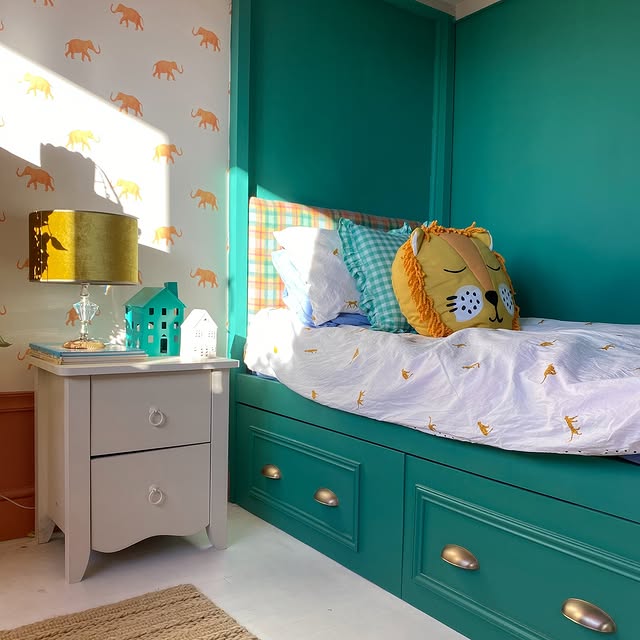
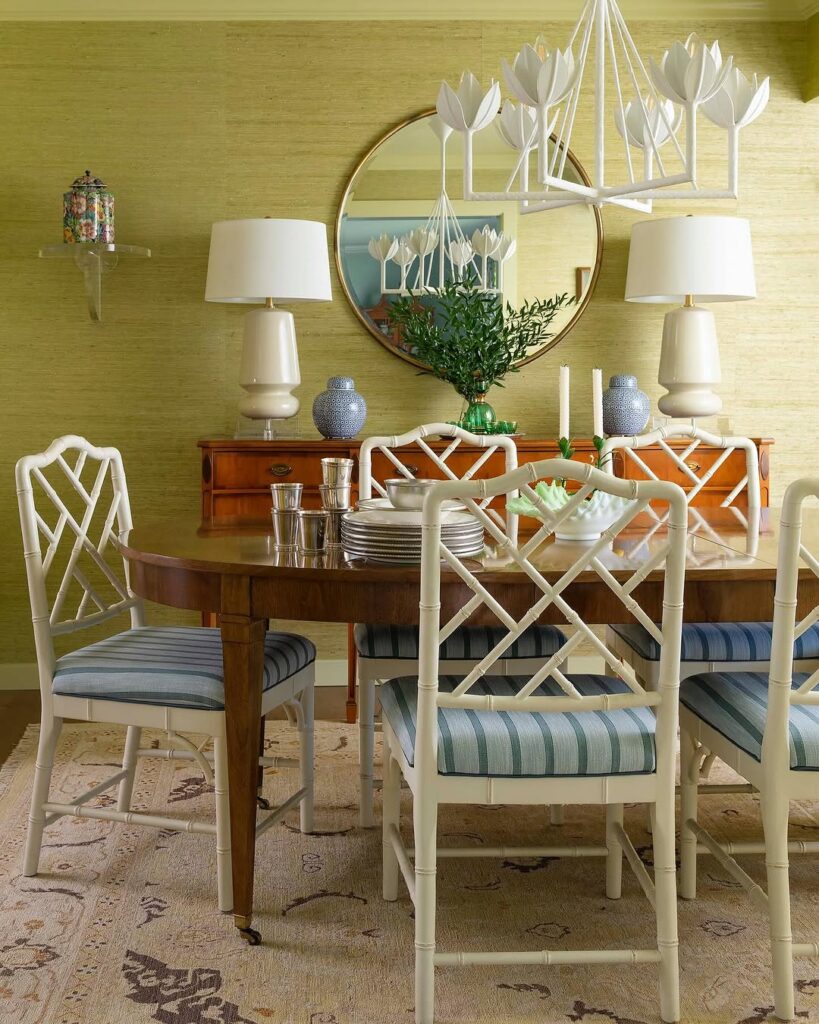
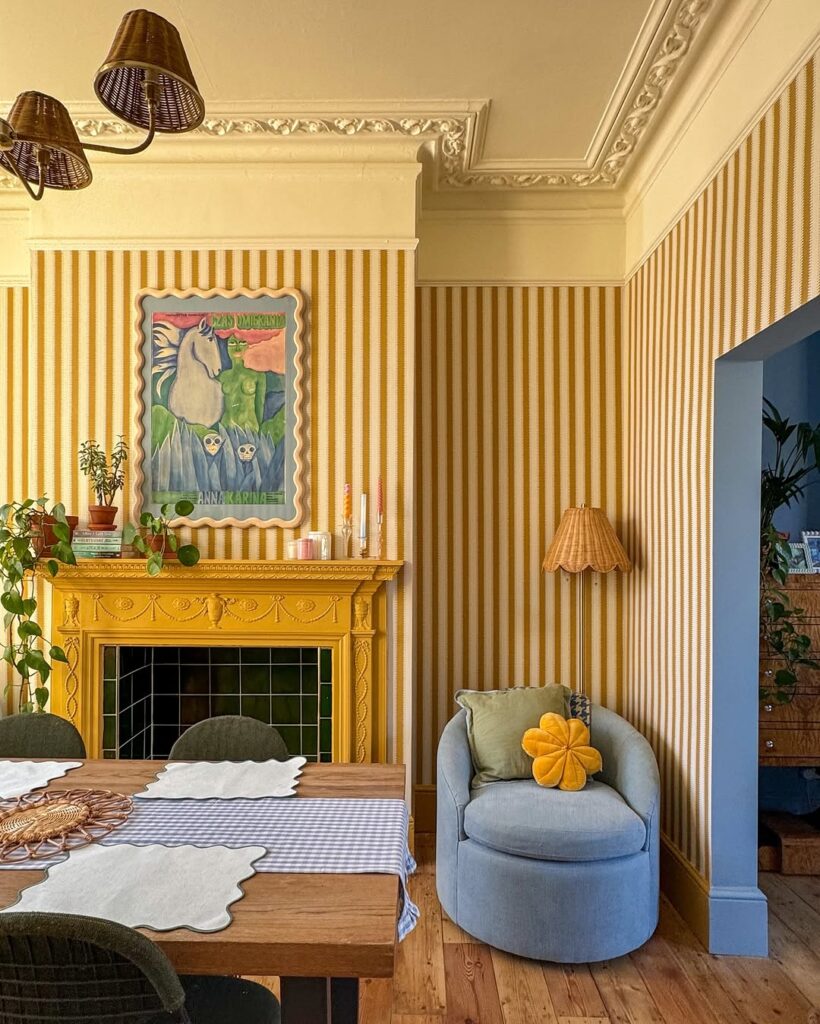
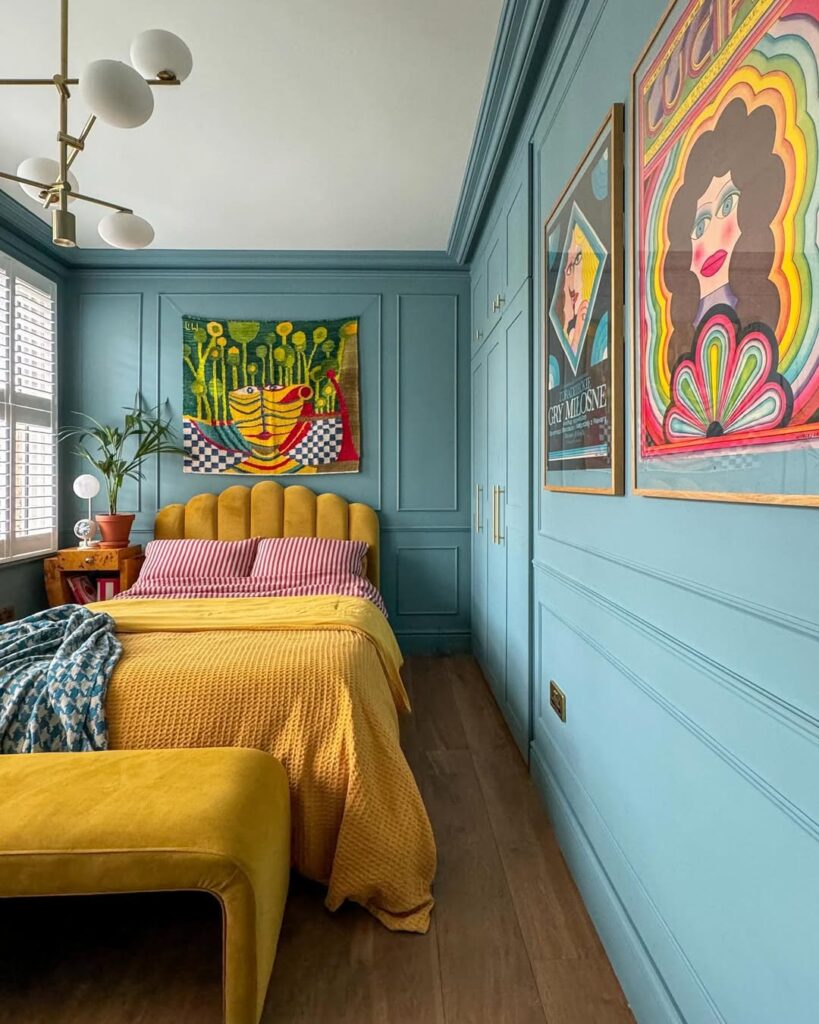
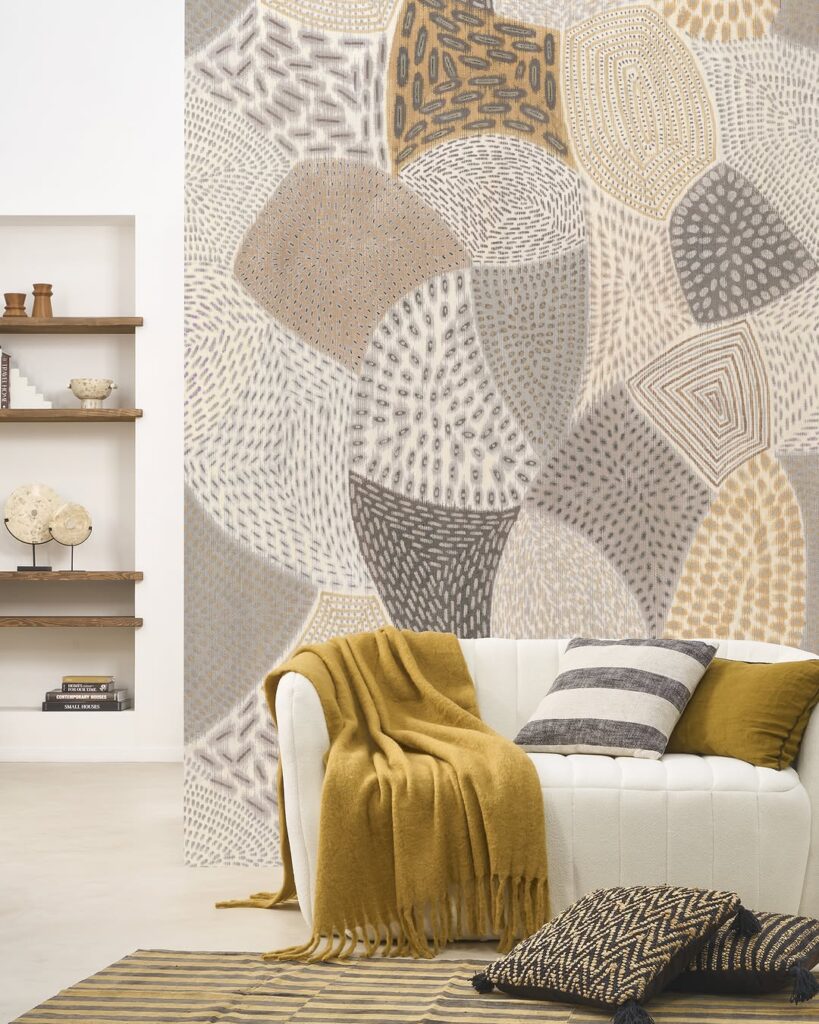
Another reason people love it? So many designs to choose from! Whether you want bold colors, modern patterns, or soft textures, there’s a style for every room and every taste. It’s great for bedroom makeovers, living room accent walls, or even home office upgrades.
But the best part? It’s super easy to use. If you can peel a sticker and line it up, you can do this. No experience needed! Let’s get started and turn your plain walls into something beautiful you’ll enjoy every day.
What You Need to Install Peel and Stick Wallpaper (DIY Home Decor Essentials)
Before you start your easy wallpaper makeover, make sure you have these basic DIY tools and supplies ready:
- Peel and stick wallpaper – Buy enough rolls to cover your entire wall. Always grab one extra roll in case of mistakes or pattern matching.
- Measuring tape – Use this to measure your walls and make sure you cut the wallpaper to the right size.
- Pencil – Great for lightly marking where to start or where to cut.
- Level or straight edge – Keeps your wallpaper lines straight and even, which is key for a pro look.
- Utility knife or sharp scissors – Needed to trim edges and cut around outlets or corners.
- Squeegee or plastic card (like an old credit card) – Helps you press the wallpaper flat and remove any air bubbles.
- Step stool or ladder – A must-have if you’re working on tall walls or ceilings.
- Damp cloth – Wipe the wall clean before you start. Dust or dirt can keep the wallpaper from sticking well.
Step 1: Surface Preparation for Peel and Stick Wallpaper
Before you begin your DIY wallpaper installation, it’s important to get your walls ready. Here’s how:
Clean the Wall Surface
Make sure your wall is clean, smooth, and free of dust. Use a damp cloth or sponge to wipe down the entire area. Avoid using strong chemicals—just water works fine for removing dust and light dirt.
A clean surface is key to strong sticking power. It helps the wallpaper adhere properly and last longer without peeling or bubbling.
This simple step can make a big difference in your wall makeover results. Clean now for a smooth, professional finish later!
Step 2: Measure and Plan Your Wallpaper Project
Now that your walls are clean, it’s time to measure and plan—a smart move for any DIY home decor project.
Measure Your Wall
Use a measuring tape to check both the height and width of your wall. This helps you figure out how many wallpaper rolls you’ll need. It’s always a good idea to buy one extra roll just in case.
Mark Your Starting Point
Pick one side of the wall to start from. Use a pencil to make a small mark where the first strip will go. Then, grab a level tool or straight edge and draw a vertical guideline. This will keep your first wallpaper strip perfectly straight—and that’s the key to a smooth, professional look.
Why This Step Matters
Taking just a few minutes to measure and plan can help you avoid cutting errors, crooked lines, or wasted wallpaper. A little prep now saves time and money later.
Once you’ve planned it out, you’re ready to start applying your peel and stick wall covering!
Step 3: How to Apply Peel and Stick Wallpaper (Step-by-Step DIY Guide)
Installing peel and stick wallpaper is a fun and rewarding DIY home project—like solving a puzzle! Once you get the hang of it, it’s easy and satisfying. Here’s how to do it right:
1: Start from the Top
Begin by peeling off a small part of the backing paper from the top of your wallpaper roll. Line up the edge with the vertical guideline you drew earlier. Take your time—this first strip is the most important!
Getting it straight will set the tone for the rest of your wall. If you rush, you could end up with a crooked strip. (I made that mistake once—my wallpaper looked like the Leaning Tower of Pisa! 😅)
So remember: slow and steady is the secret to a smooth, professional finish. Use your level tool again if needed to double-check the line.
Pro Tip for Applying Peel and Stick Wallpaper
When you’re ready to apply your peel and stick wall covering, don’t peel the whole backing off at once. Instead, peel just a few inches from the top of the wallpaper roll and press it gently to the top of your wall.
This smart method gives you more control and better alignment, helping you keep the wallpaper straight as you smooth it down section by section. It’s a great way to avoid air bubbles and crooked lines—perfect for a clean, professional-looking finish.
This simple trick makes your DIY wall transformation faster, easier, and stress-free!
2: Smooth the Wallpaper As You Go
As you peel away more of the backing paper, gently press the wallpaper onto the wall. Use a squeegee tool or even an old credit card to smooth it out as you go.
This part is oddly satisfying—kind of like popping bubble wrap, but in reverse! 😊 Make sure to press firmly to remove air bubbles and ensure the wallpaper sticks flat and evenly.
If you notice any bubbles later on, don’t worry. Just gently peel the wallpaper back in that spot and smooth it down again. No glue, no mess—just a quick fix for a clean finish.
This easy step helps you get a flawless look, just like a pro in DIY wall decorating!
Peel and Stick vs. Pre-Pasted Wallpaper – My Honest Experience
After trying both peel and stick wallpaper and pre-pasted wallpaper, I can honestly say—I’d choose pre-pasted wallpaper every time.
Why? The peel-and-stick type was extremely sticky, which made it harder to adjust once it touched the wall. If you didn’t line it up perfectly the first time, it was tough to fix. It took more time and patience than I expected.
On the other hand, pre-pasted wallpaper gave me more flexibility. It was easier to slide into place and reposition without stretching or tearing.
If you’re doing a large wall or an entire room, pre-pasted might be the better choice for a smoother DIY wallpaper installation and less frustration.
3: Match the Wallpaper Patterns
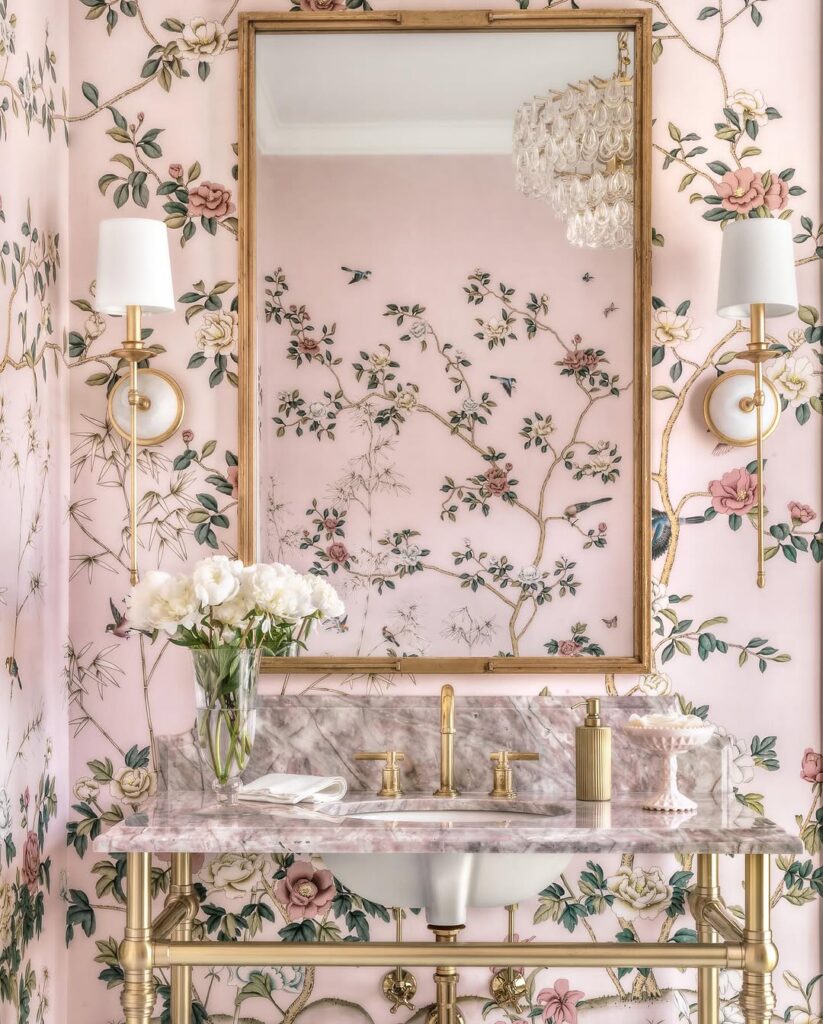
If your peel and stick wallpaper has a pattern—like floral prints, geometric shapes, or stripes—you’ll need to line it up carefully when adding the next strip. Think of it like connecting dots, but with a stylish twist!
This step takes a little extra patience, but it’s super important for getting that seamless, designer look. When the patterns match up perfectly, your wall will look clean, professional, and high-end—just like a custom interior design upgrade.
Tip: Always check the pattern alignment before pressing the next strip onto the wall. It might take a few tries, but the final result will be totally worth it.
4: Trim the Extra Wallpaper for a Clean Finish
Once your wallpaper is in place, it’s time to trim the extra pieces around the edges, electrical outlets, and windows. Use a sharp utility knife or precision blade to cut carefully along the edges.
This step is where your DIY wall project starts to look truly professional. Go slow and steady—being gentle and accurate makes all the difference.
💡 Pro Tip: I once rushed this step and accidentally sliced into the wallpaper. Trust me—measure twice, cut once. Taking your time here will leave you with clean lines and a polished, high-end look.
Common Peel and Stick Wallpaper Mistakes to Avoid
Even with the best tools and intentions, small mistakes can turn a fun project into a frustrating one. Here are some DIY wallpaper installation mistakes to watch out for:
1. Skipping Surface Prep
If your wall is dusty, dirty, or uneven, the wallpaper won’t stick well—and may peel off later. Think of it like putting a sticker on a dirty car—it just doesn’t work. Always clean and smooth your walls before starting.
2. Not Measuring or Planning First
Skipping the measuring step can lead to crooked strips or misaligned patterns. This is a key part of the project—take time to measure your wall and mark your starting point. It’s the secret to a flawless finish.
3. Rushing Through the Process
Peel and stick wallpaper may be quick, but it still needs care. If you rush, you might end up with air bubbles, poor alignment, or rough cuts. Go slow—line it up, smooth it down, and trim with precision for that perfect pro look.
Avoiding these common errors will help your wallpaper project look amazing and last longer—saving you time, money, and stress!
Removal and Maintenance: Easy Wallpaper Care Tips
Removing Peel and Stick Wallpaper
When it’s time for a room refresh or style update, removing your peel and stick wallpaper is quick and stress-free.
Start by peeling from a corner and slowly pull the wallpaper away from the wall. Take your time—slow removal helps protect your wall and avoids paint damage.
💡 Pro Tip: If the wallpaper feels a bit too sticky or tough to peel, grab a hairdryer. Gently heat the wallpaper as you pull. The warm air will soften the adhesive backing, making it much easier to remove without harming your surface.
This makes wallpaper removal perfect for rental homes, temporary decor, or anyone who loves to change up their space often!
Cleaning Peel and Stick Wallpaper: Easy Maintenance Tips
To keep your peel and stick wallpaper looking clean and new, regular care is simple and gentle.
Just use a damp cloth or soft sponge to wipe the surface. For most messes, plain water works perfectly. If you need a bit more cleaning power, add a drop of mild soap—nothing too strong.
Avoid using harsh chemicals, bleach, or abrasive cleaners. These can damage the wallpaper’s finish and shorten its life.
With light maintenance, your removable wallpaper will stay beautiful and vibrant—making your wall decor investment last even longer!