Transform an Old Bench into a Stunning Woven Furniture Masterpiece
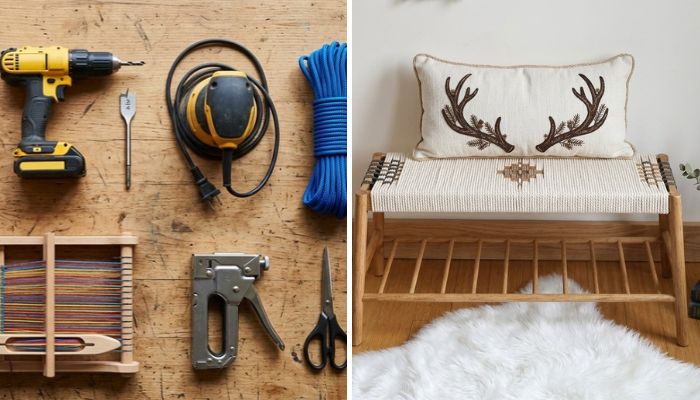
Your home decor shows your personal style and makes your living space feel special. Some people love modern home decor with simple designs, while others prefer a cozy farmhouse style. No matter what style you like, the right furniture and decorative pieces can make your home look beautiful, comfortable, and welcoming.

If you have an old wooden bench that looks plain or outdated, you don’t need to spend money on expensive new furniture. A simple DIY furniture makeover can give it a fresh and stylish look. With a few basic supplies and an easy weaving technique, you can turn your old bench into a beautiful woven furniture piece.
This budget-friendly home improvement project is a great way to reuse old furniture while adding a personal touch to your interior design. The finished bench can be a lovely addition to your entryway, bedroom, or living room. It’s an affordable way to upgrade your home decor without a major renovation.
Materials You’ll Need
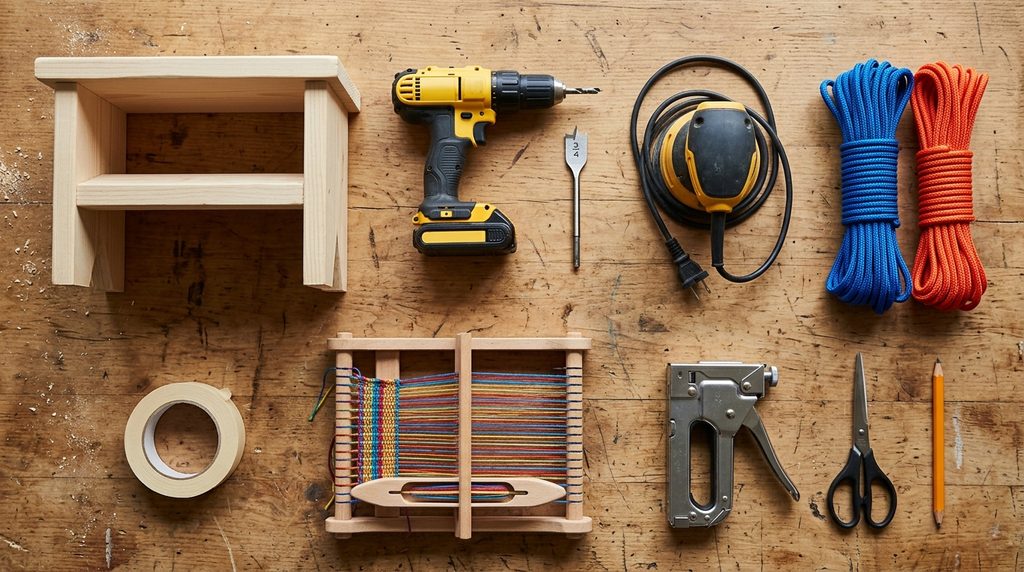
Before starting this easy DIY furniture makeover, gather these basic tools and supplies:
- Wooden bench
- Pencil
- 3/4-inch drill bit
- Electric drill
- Hand sander
- Strong rope (use two different colors if you like)
- Masking tape
- Small hand weaving loom
- Staple gun
- Scissors
These simple supplies will help you turn an old wooden bench into a stylish woven furniture piece. This affordable DIY home decor project is a great way to refresh your furniture without spending money on a new bench.
Instructions:
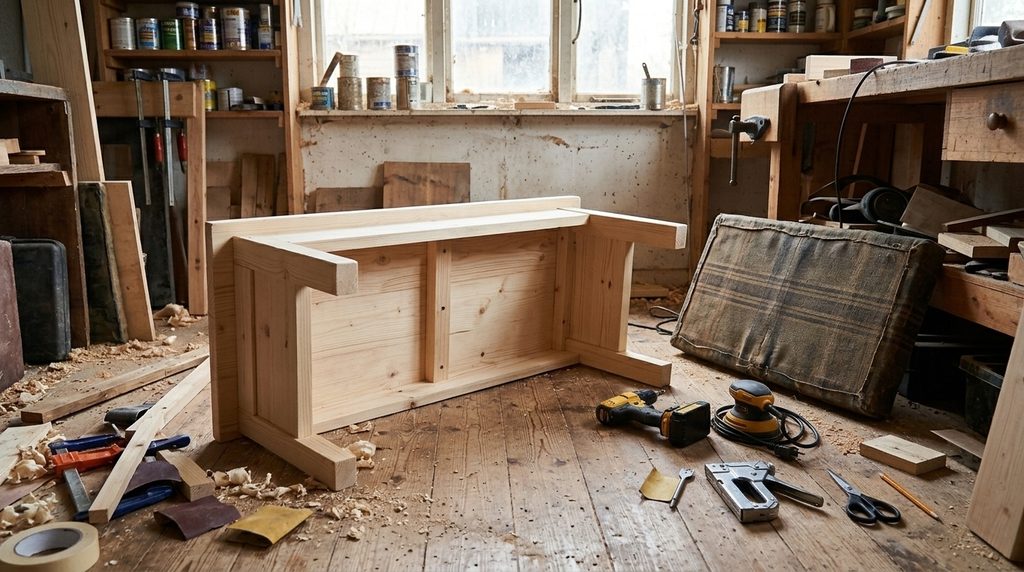
1. If your wooden bench has a seat cushion, carefully remove it. Then, turn the bench onto its side to prepare it for the DIY makeover.
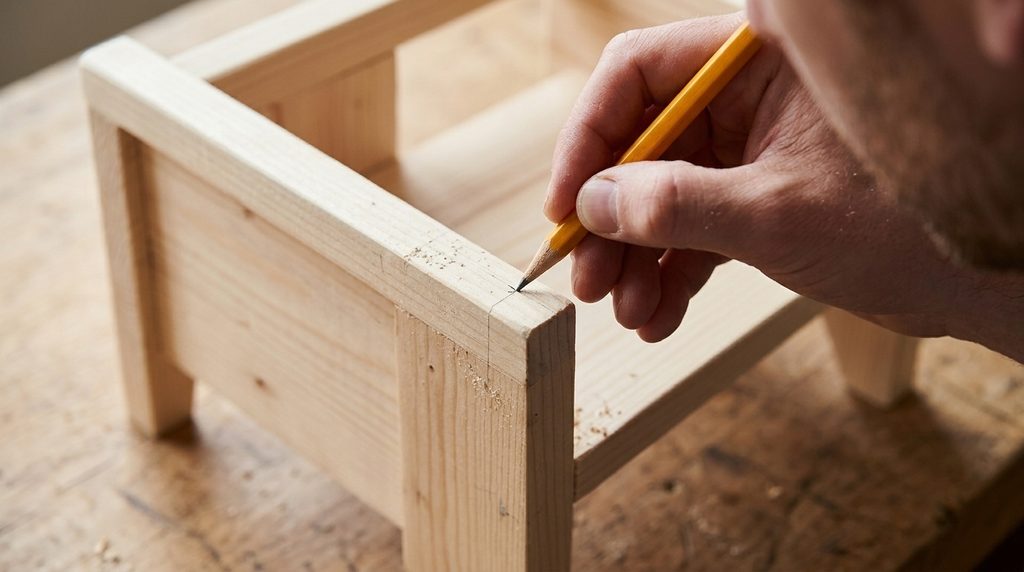
2. Use a pencil to make a small mark on the top wooden rail of the bench. The mark should be about 1 inch away from the leg and 1/2 inch from the edge. For now, make only one mark.
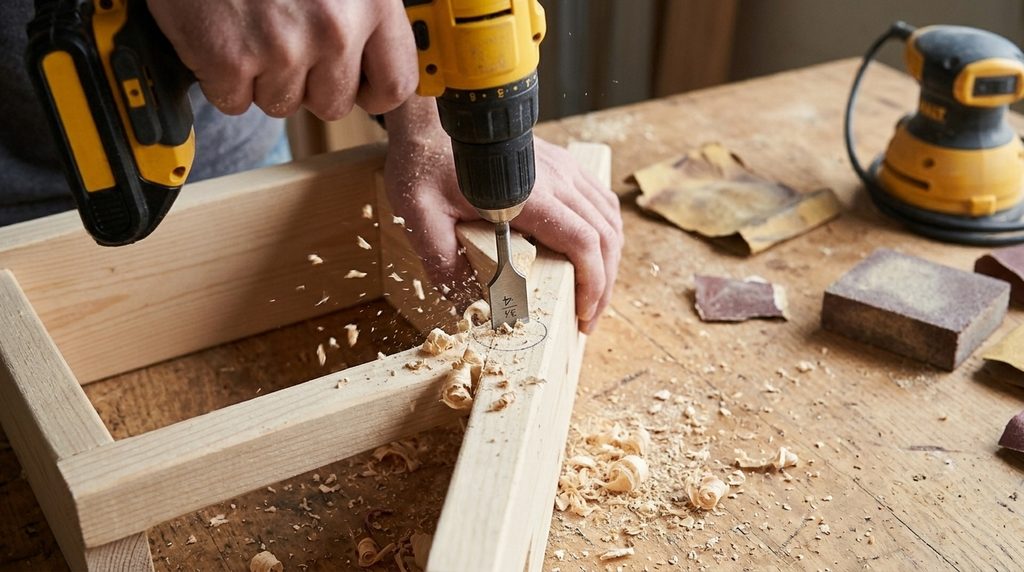
3. Use an electric drill with a 3/4-inch drill bit to make a hole where you marked the wood. Once the hole is ready, use a hand sander to smooth the rough edges and remove any splinters.
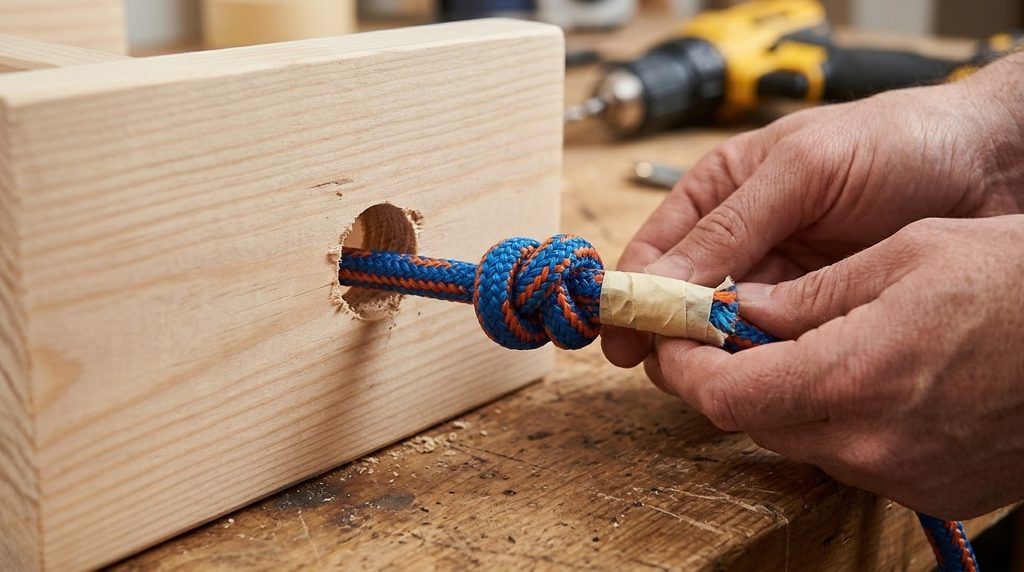
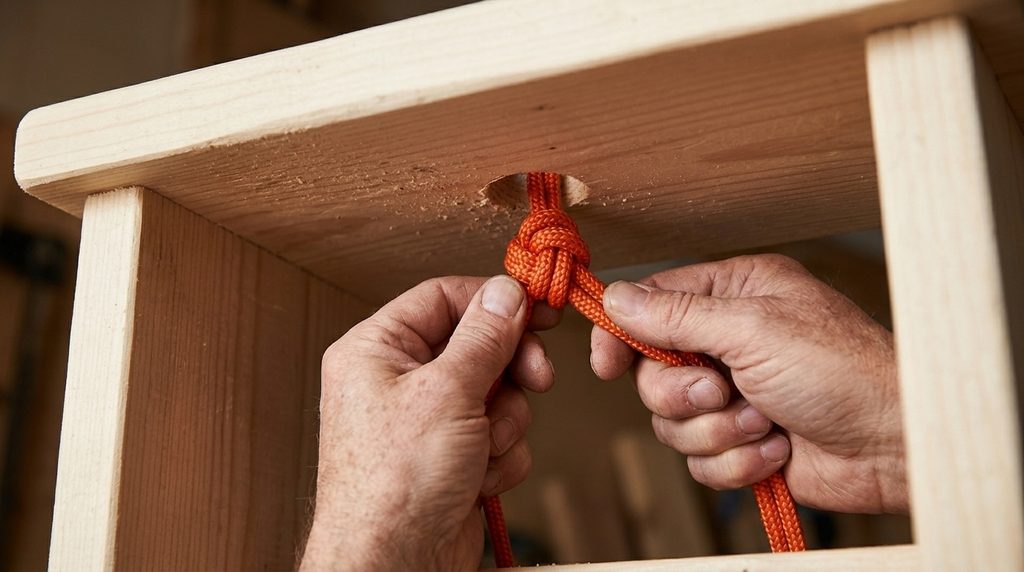
4. Wrap a small piece of masking tape around the end of the rope to make it easier to handle. Push the rope through the hole you drilled in the wooden bench. Then, tie a tight knot at the end to keep the rope in place and stop it from slipping back through the hole.
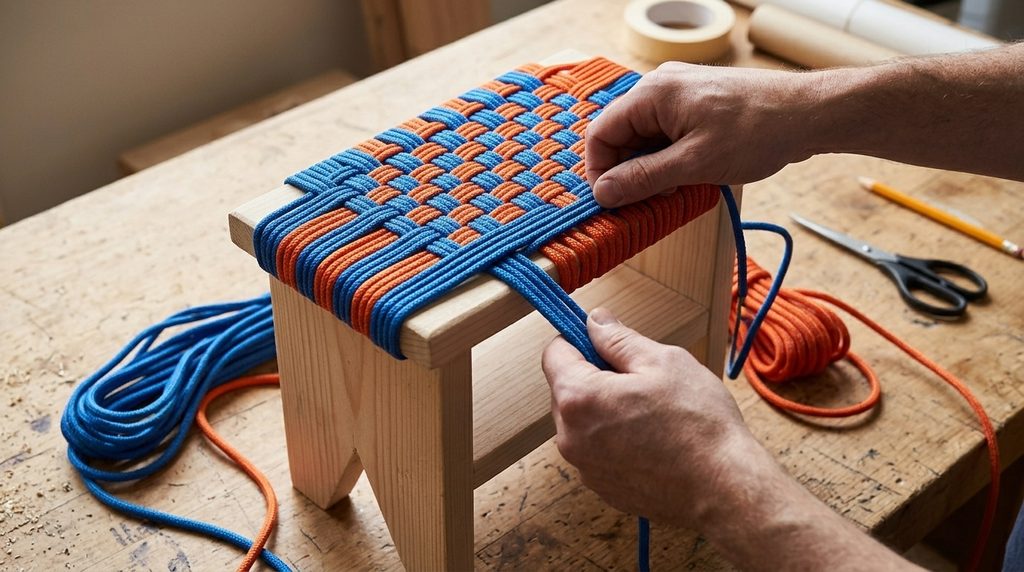
5. Turn the wooden bench upright and start wrapping the rope around the seat. After every few loops, gently push the rope strands closer together to keep them tight and even. Continue weaving until the entire bench seat is covered with rope, creating a neat and beautiful woven design.
6. When you reach the other end of the wooden bench, repeat Step 3. Use your electric drill and 3/4-inch drill bit to make a hole at the opposite end. Then, sand the edges to make them smooth.
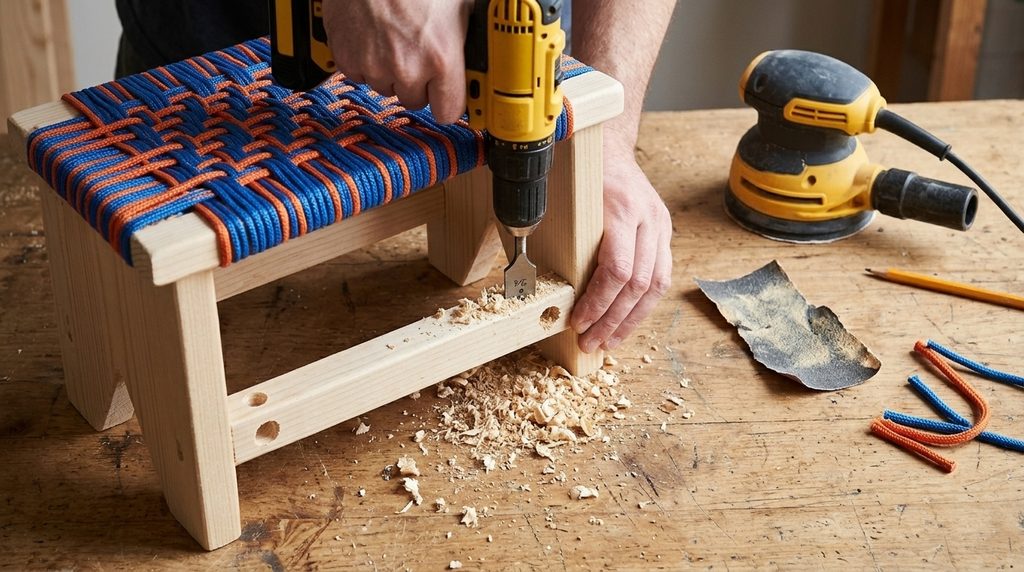
7. Cut the rope and push the loose end through the new hole. Tie a tight knot underneath the wooden bench to keep the rope secure. Make sure the knot is hidden from view for a clean and neat finish.
8. Take the second color of rope and thread it through a small hand weaving loom. Use it to create a beautiful pattern across the woven bench seat. You can also wrap the second rope around the edges of the bench to add extra detail and give your DIY furniture makeover a more stylish finish.
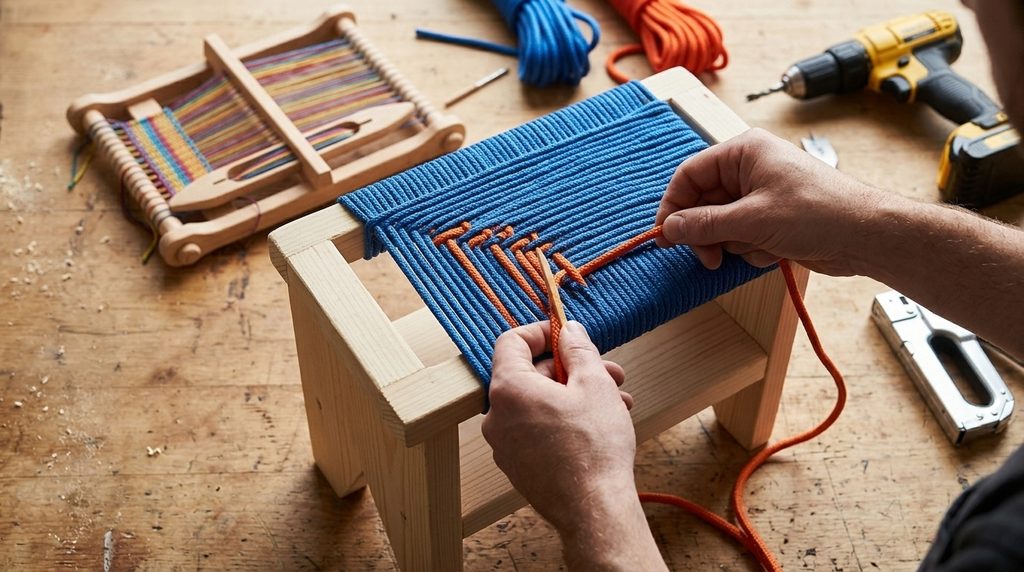
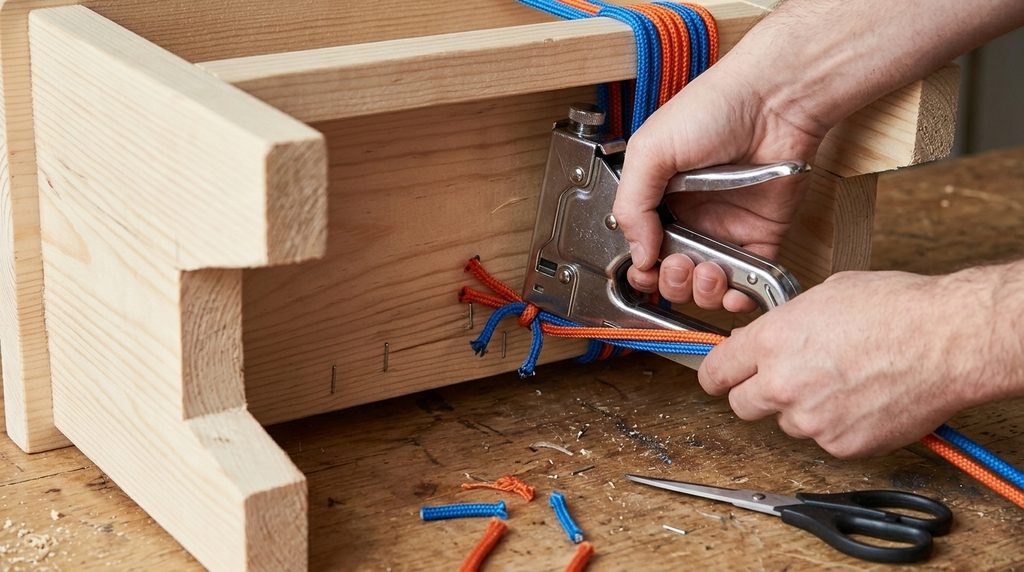
9. Use a staple gun to secure the ends of the second rope underneath the wooden bench. Make sure the rope is firmly attached and stays in place. Then, use scissors to trim any extra rope so no loose ends hang down. This will give your DIY woven bench a clean, neat, and professional finish.